The reverse geo-caching puzzle box got me and a colleague talking about puzzle boxes, and making our own. As a first attempt I wanted to make a purely mechanical one. Such a puzzle box could not suffer from an empty battery. Also, I wanted to make it open with a magnet, to make it seem a bit more like a magic box 🙂
The box was not that hard to make, I just got a cheap wooden box to start with. I got it for a few euros at the Xenos:
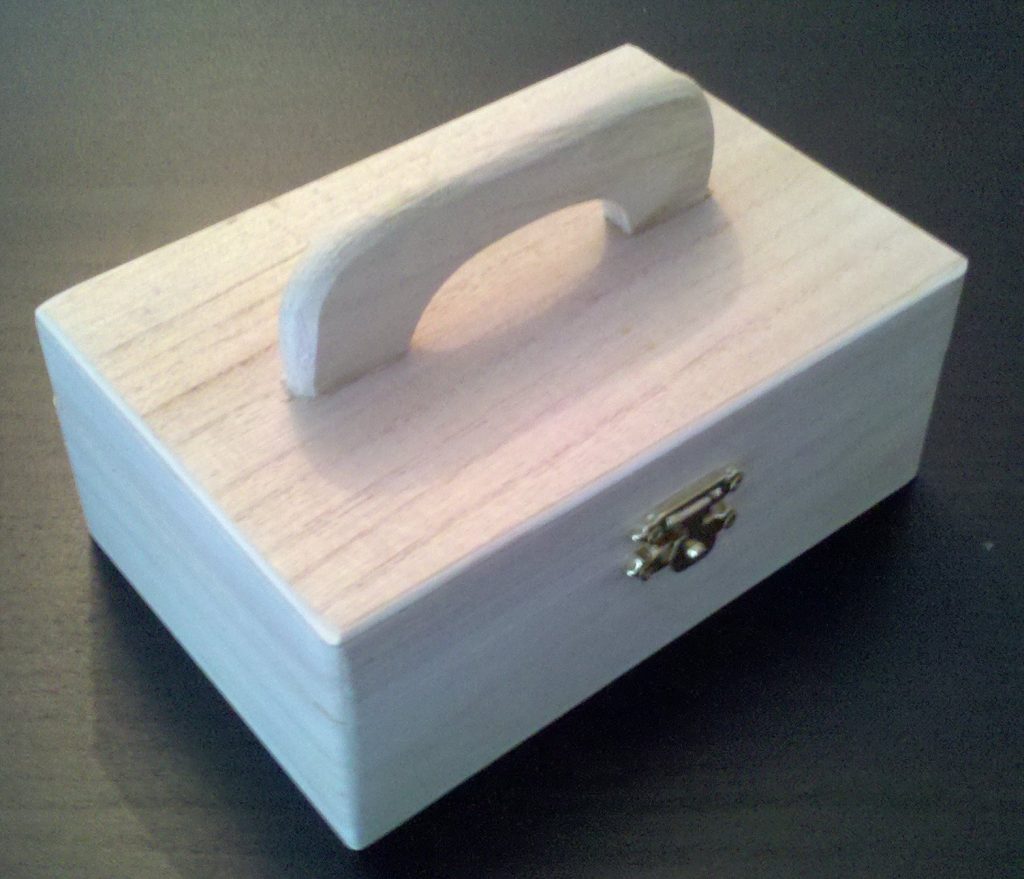
I removed the stuff I didn’t need; the handle and the lock:
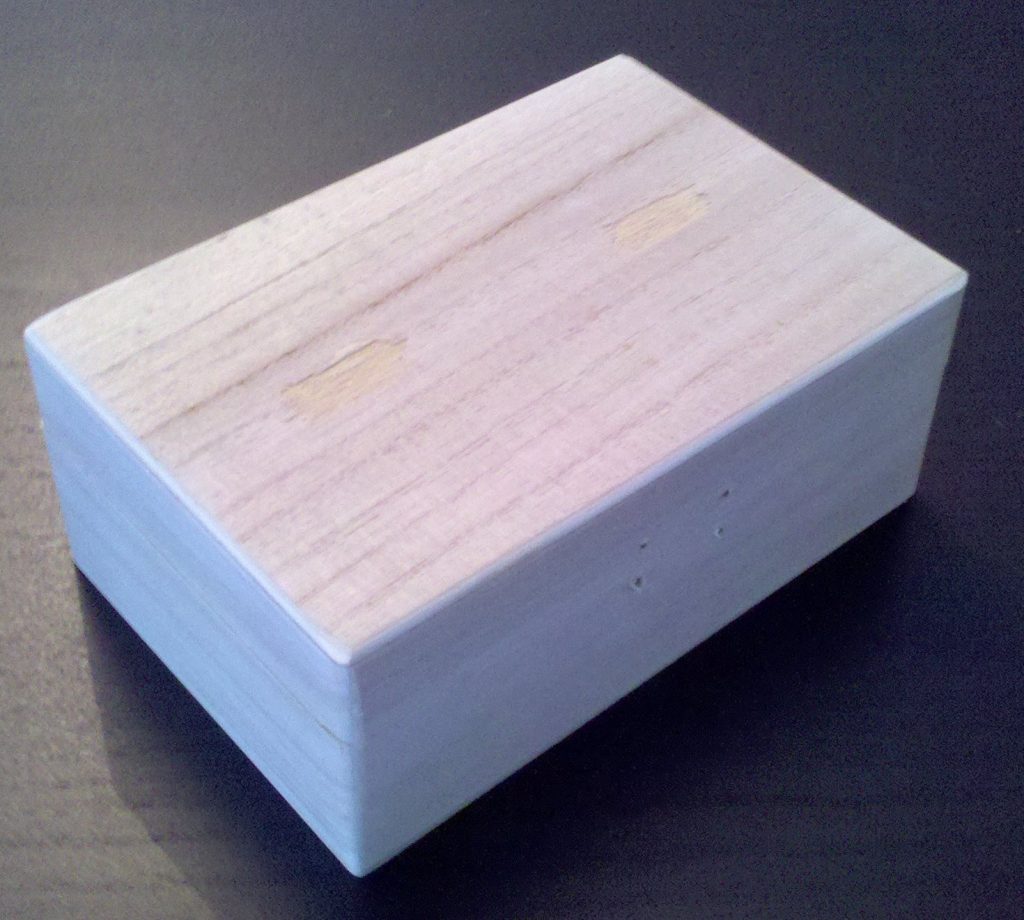
As you can see this left some marks on the box that I had to get rid of later on. But first, I made the inner workings:
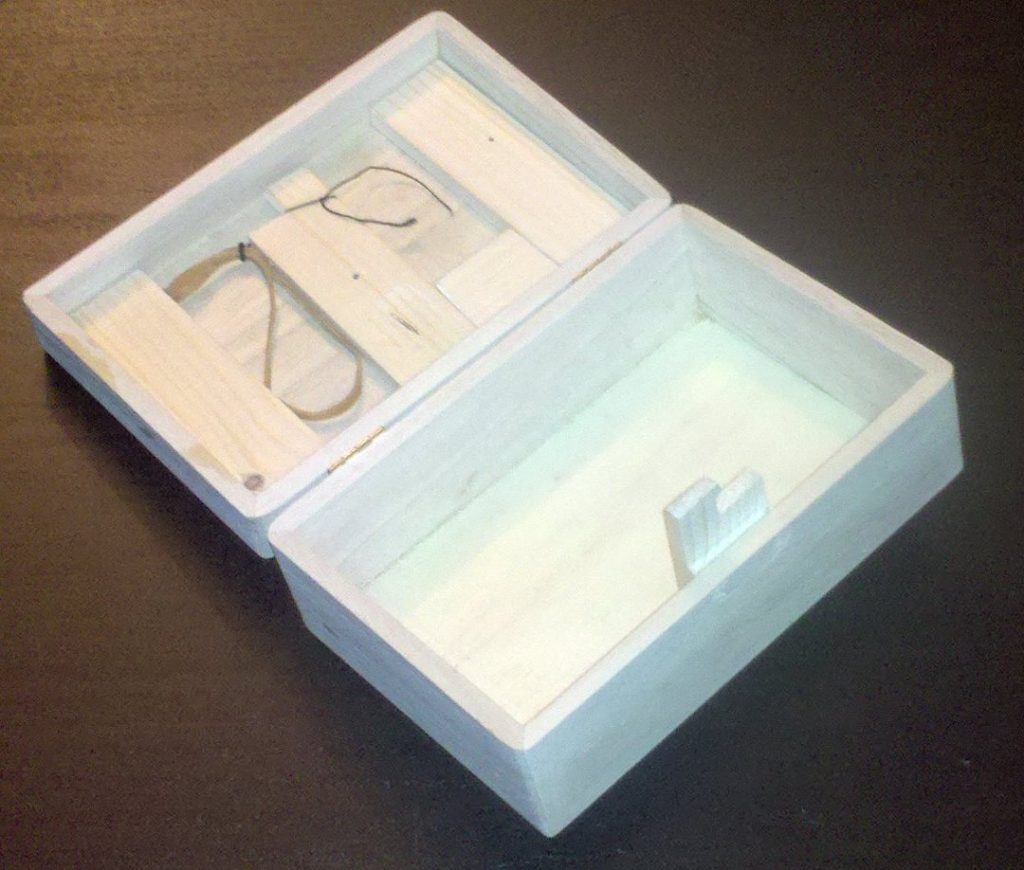
The picture above shows the mechanism in place, the picture below shows the components in the lid in close-up and with the middle part turned over.
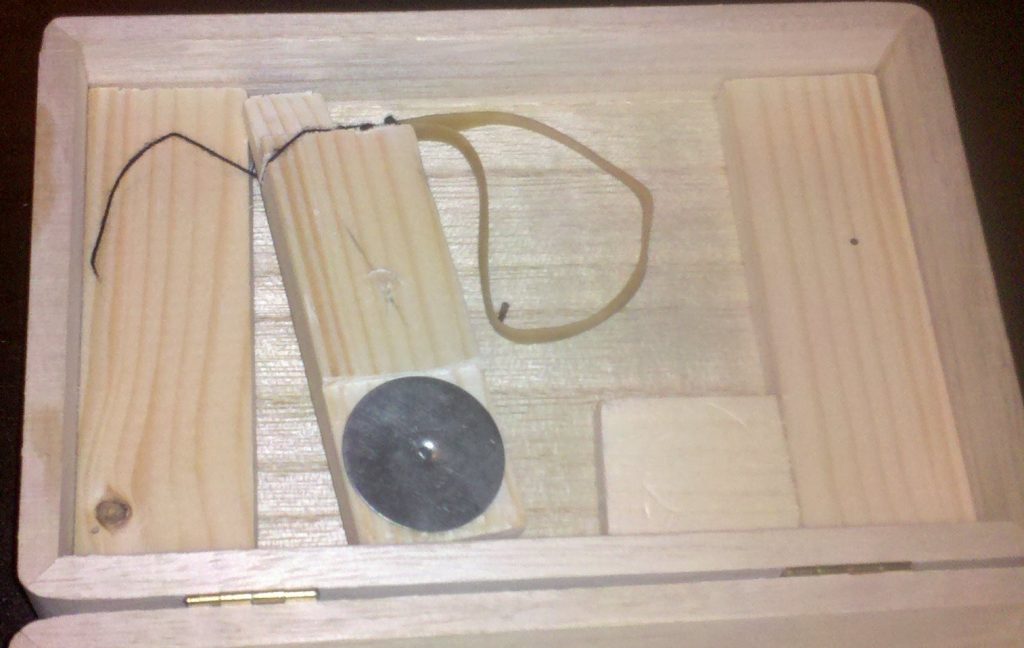
All the wooden parts were made of a single strip of wood.
The two pieces at the sides of the lid were glued in. They will be used later on to attach a cover for the mechanics, and the one on the left is used to attach the rubber band.
The piece in the middle of the lid is more elaborate. It has a hole in the middle so that it can rotate around the nail. Furthermore, the side near the top of the photo was shaped to fit with the piece of wood in the bottom of the box such that the lid is locked in place when the two pieces are in the correct position. The rubber band pulls the piece to this position, and the smaller bit of wood, right from the center of the lid, ensures that the rubber band does not pull the piece too far.
The other side of the wooden piece contains a small metal disc so that the piece can be moved by a magnet on the outside of the box. I had this piece lying around, but I think I could have also used a bottle cap.
The black piece of thread is knotted around the rubber band such that it does not slip on its own, but the knot can be moved to adjust the tension. This required a bit of fiddling; too little tension and the box would not stay in the locked position, too much tension and the magnet would not be strong enough to overcome it and open the box.
Next time I would attach the rubber band closer to the center, to give the magnet more leverage.
Oh, the nail was not supposed to show on the outside of the box, but the lid was so thin that I accidentally pierced it when testing the mechanism. Another thing I’ll have to look out for if I build another box.
Most of the work went into filing, to make the pieces of wood fit together just right to lock the box, and to ensure that they fall into this position when the box is closed. Actually it was not the filing itself, but the several cycles of disassembling, filing, assembling and testing that took up most of the time.
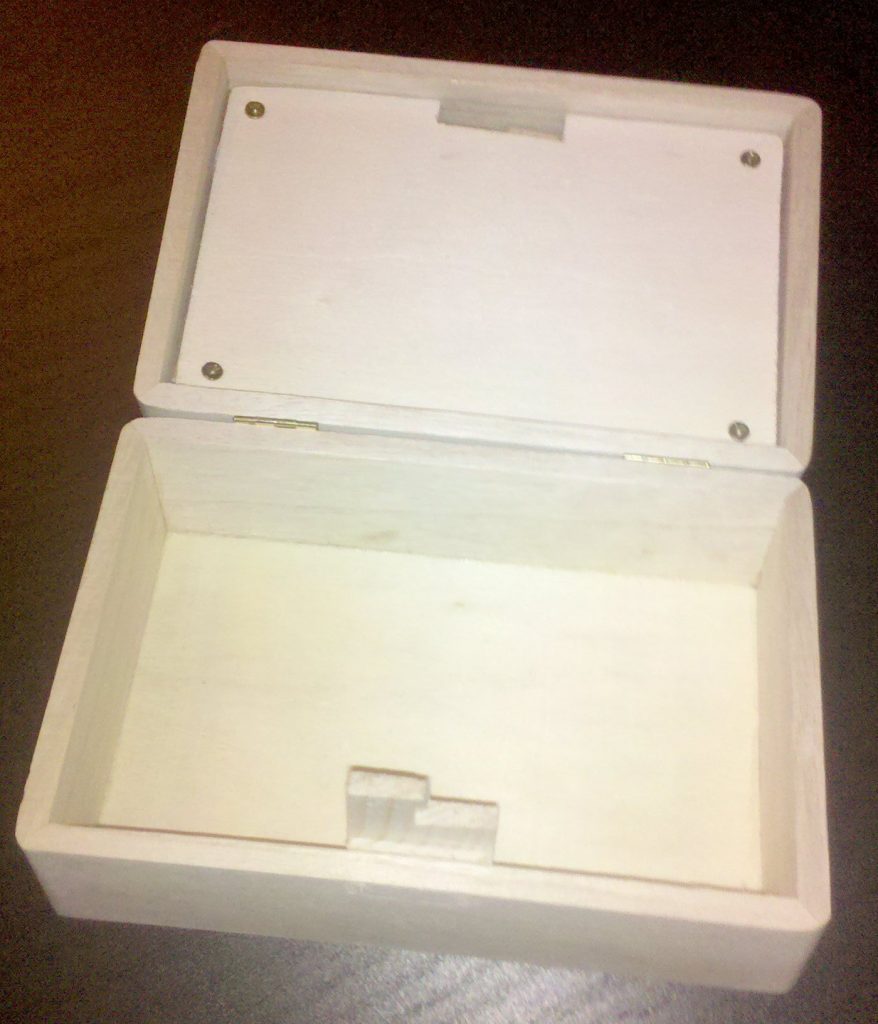
After everything worked the mechanism was covered up:
Since the moving part of the mechanism and the part where the cover is attached were made from the same strip of wood, I used a bit of cardboard to raise the cover slightly. Otherwise there would be too much friction between the cover and the moving piece.
After that it was time to finish the outside:
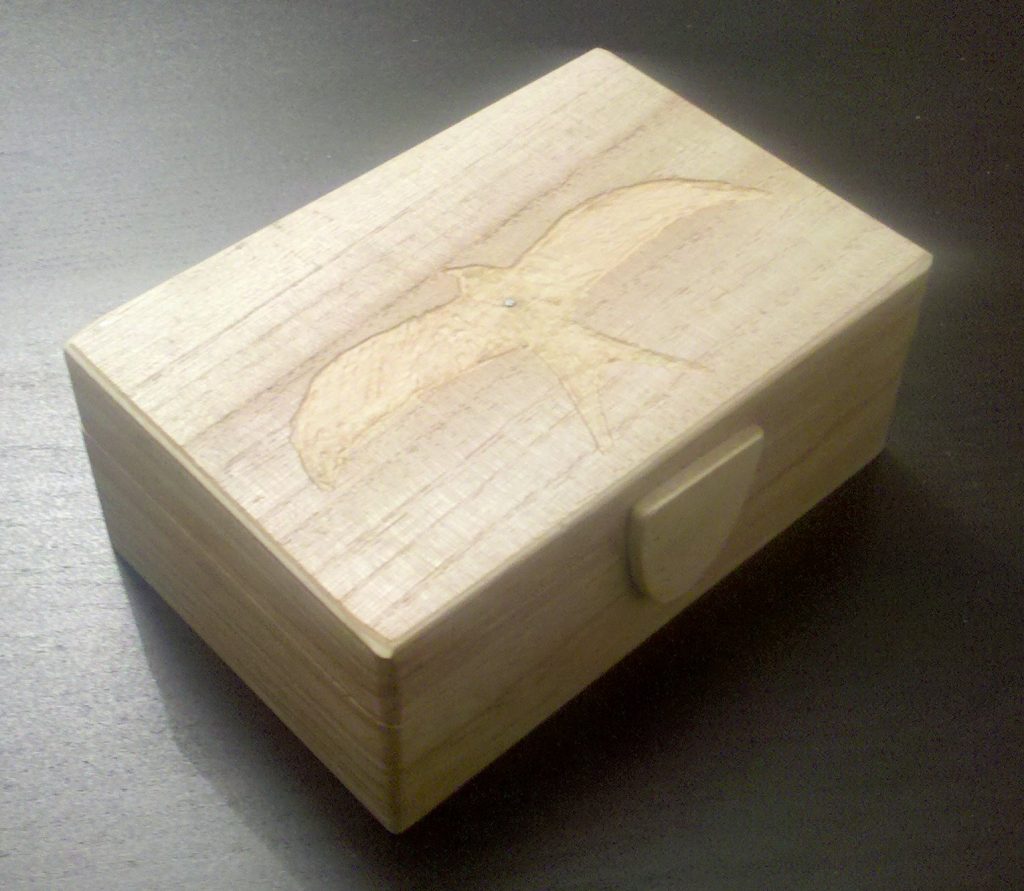
I glued a piece of wood in the shape of a shield over the holes left by the old locking mechanism. Maybe I should carve a design in there, I’m not sure about that yet.
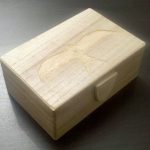
To hide the patches left by the (removed) handle I carved a design in the lid. I think I didn’t do too bad for a first try at woodcarving, even if I do say so myself. It’s supposed to represent a swallow by the way, as a kind of hint to opening the puzzle box (the swallow being a migratory bird, using the earth’s magnetic field to navigate and all).
If a magnet is moved over the box from the center of the swallow, to its head and then in the direction where it points its beak, the box opens.
Of course the magnet has to be held in place while opening the box, otherwise the rubber band locks it again.
A demonstration, using a magnetic ring (Wizard PK Ring G2) to open the box: